
You will need...
- A 64 count box of crayons (or how ever many you need depending on the size of the canvas you are using)
- A canvas panel, form core board or particle board(I used a 16x20 canvas panel)
- A hot glue gun and hot glue
- A blowdryer
Now that you have gathered everything...
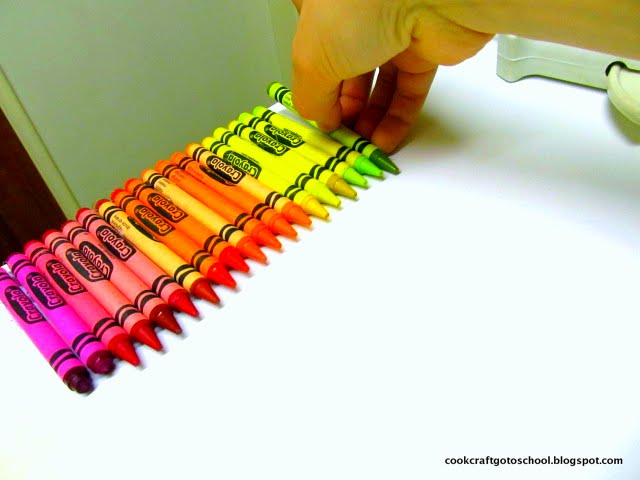
- Here's the caveat... you have to put the crayons in rainbow order. I was totally shocked when I opened up my new box of crayons and realized that Crayola does not put them in order for you. Well anyway it was kind of fun organizing them. If you have kids you can get them to do it; it will be an entertaining challenge for them to figure out the perfect spectrum.
- Now we are trying to make a pretty rainbow take out all of the browns, blacks and grays (if you want). I was debating on whether or not I should remove "asparagus" green. I didn't but now I wish that I had. Sorry asparagus you make for a yummy vegetable but an ugly crayon.
- Now with your crayons all lined up in the order you want them, pick each up one at a time and glue them down on your surface of choice. Make sure the keep them straight and to leave one crayon width (a few millimeters) of space on each end so there can be extra space for the wax to spread.
- Line your wall and floor/table top with garbage bags to catch wax splatters and drips. Now prop up your canvas.

- Take your blowdryer and set it to high heat. Turn it on and start melting those crayons! Watching this project come to life it so fun, just look...


No comments:
Post a Comment